Treat the seam as an operating component
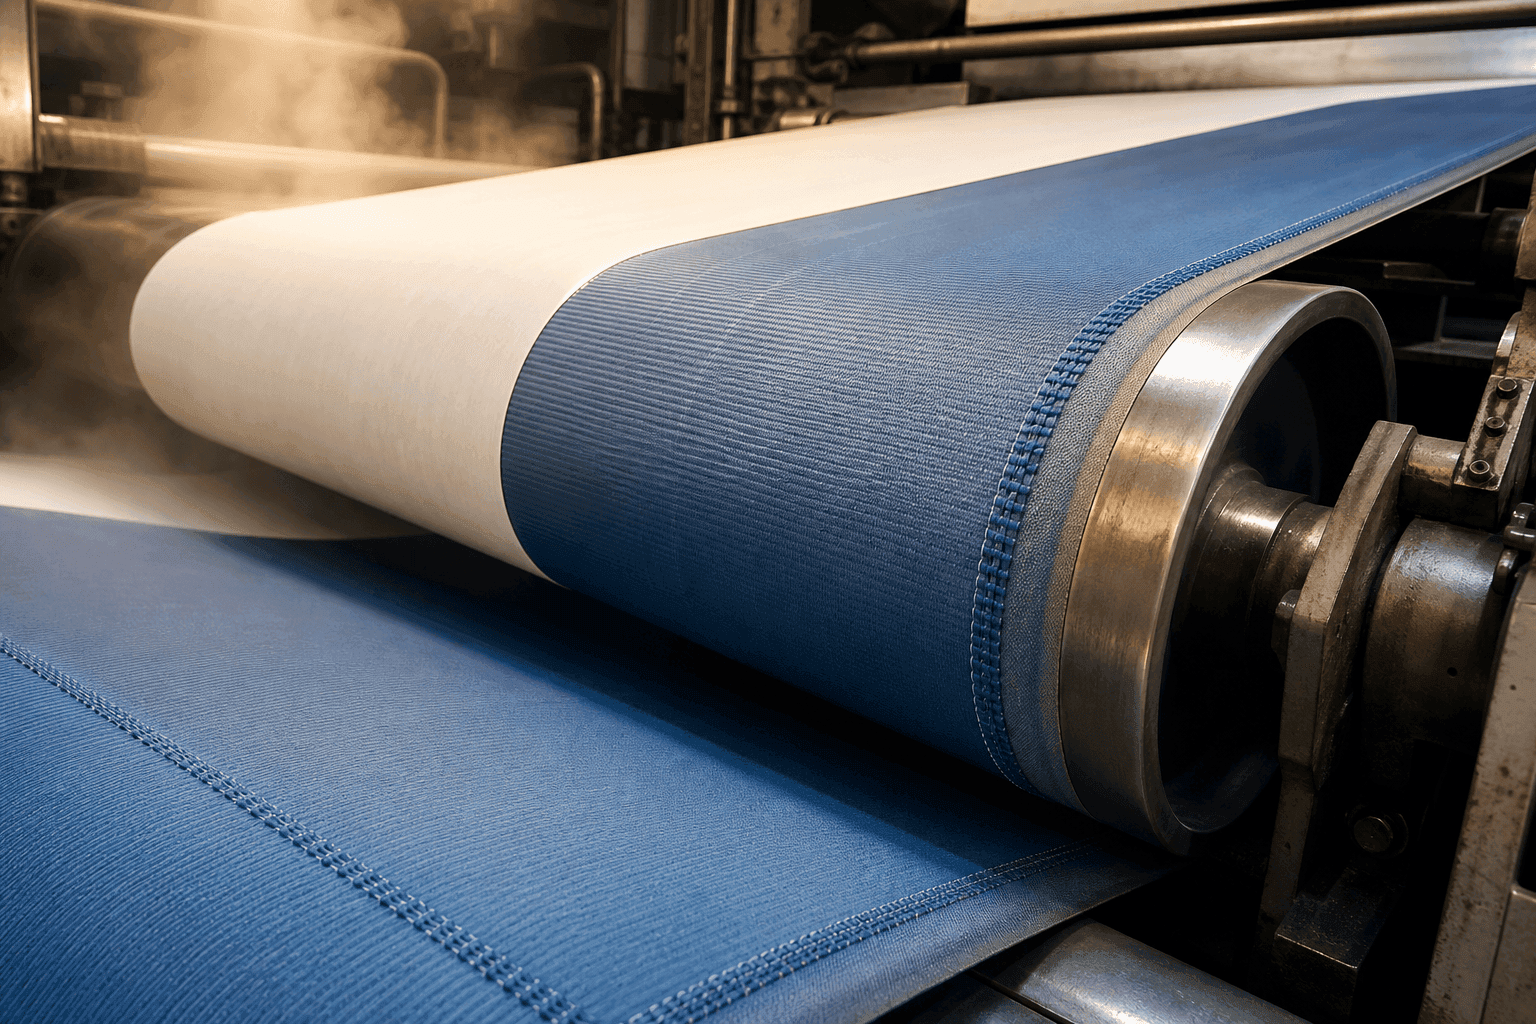
A dryer fabric seam is not a final packing detail. It passes around rolls, cylinders and guiding equipment under tension, temperature and moisture. Before start-up, a site team needs to verify that the supplied fabric, closure components and installation method match the actual machine position.
This checklist supports a controlled inspection. It does not replace the paper-machine manufacturer's lockout, guarding, access, lifting or chemical-safety procedures. Only trained personnel working under the mill's approved safety system should install or inspect clothing.
1. Verify identification before unrolling
Compare the product label and packing list with the released order. Confirm the machine position, fabric type, ordered dimensions, running direction, seam type and any special instruction.
If the site has multiple dryer groups or several similar fabrics, identify the destination position before the roll is opened. Mixing two positions can create avoidable rework even when both items are technically dryer fabrics.
2. Inspect storage and handling condition
Before moving the fabric to the machine, inspect the packaging for moisture, crushing, sharp-edge damage or contamination. Keep the fabric away from welding sparks, oil and unnecessary folding. Do not drag the fabric or seam components across sharp machine edges.
Document any concern with photos before installation. This creates a clear starting condition for the team and supplier.
3. Check the intended running direction
Read the machine-direction marking and compare it with the planned threading route. A seam design may have a preferred installation and running direction. Confirm it before the fabric reaches the closure point; reversing after partial installation can create unnecessary handling risk.
4. Inspect the seam loops and closure components
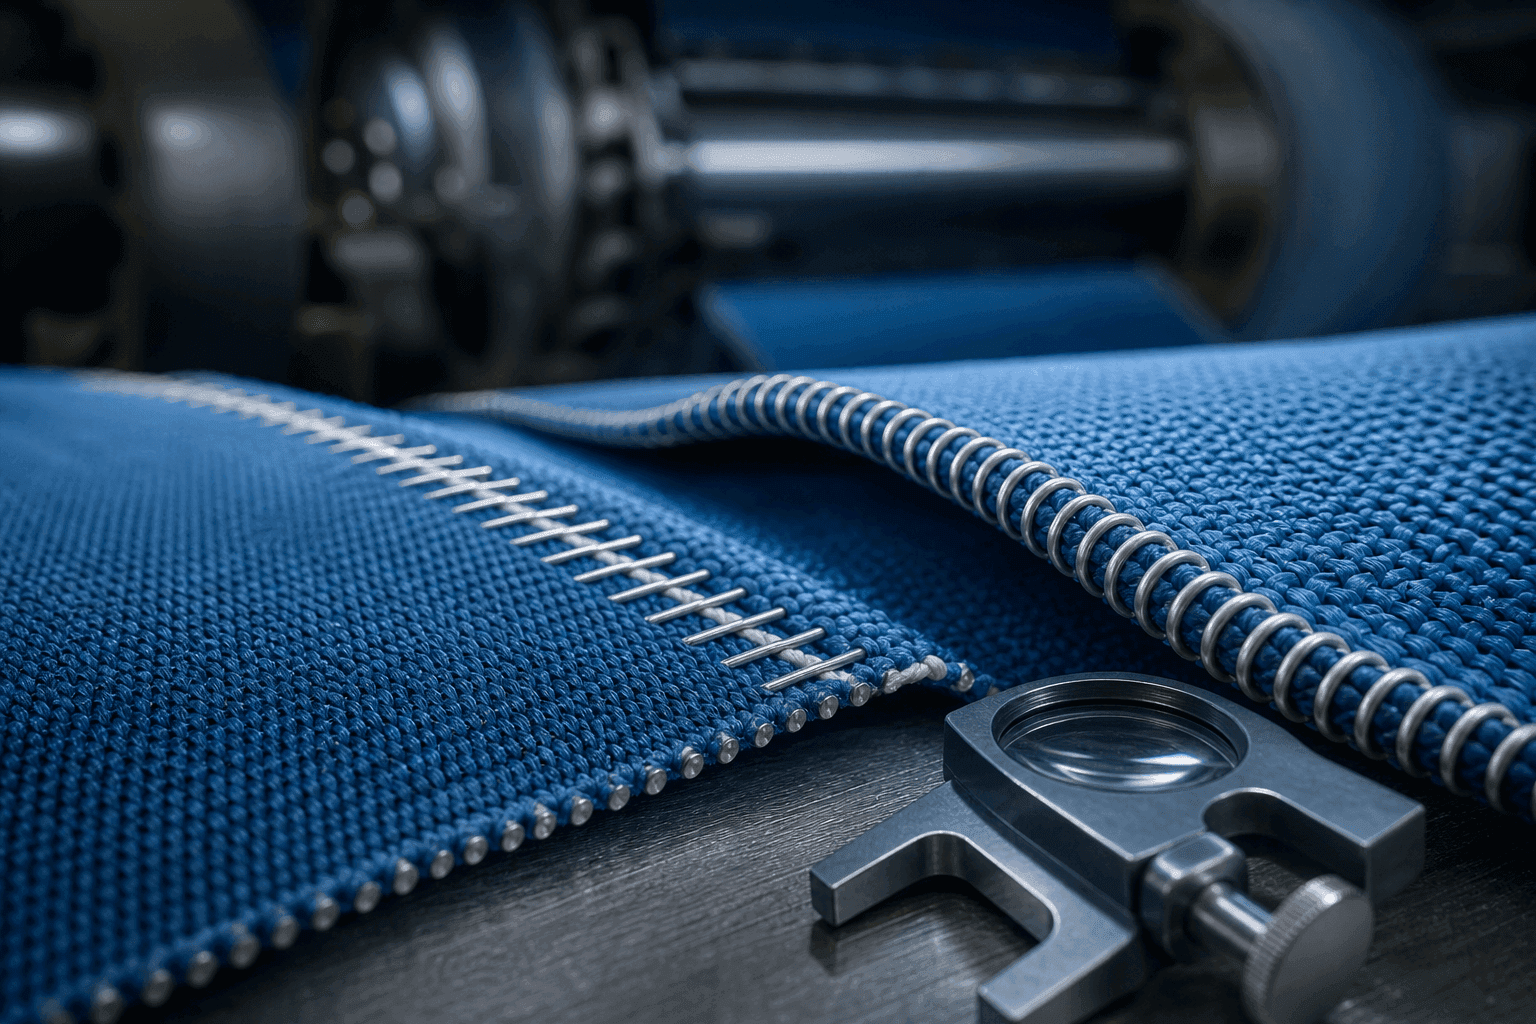
For a pin seam or spiral connection, inspect that loops are clean, aligned and free from visible deformation. Confirm the correct joining pin or closure component is available and protected from damage.
Do not force a pin through misaligned loops. Stop and correct the alignment or investigate the cause. Excess force can damage an otherwise serviceable seam.
5. Confirm clearance around the seam route
Walk the complete path before closing the seam. Check rolls, doctors, savealls, cleaners, sensors and fixed edges for conditions that could contact the seam or fabric.
Record any known restriction or modification. The purpose is not to declare a universal clearance; it is to make sure the actual site geometry has been inspected before the first run.
6. Close the seam methodically
Bring the two ends together without twisting the fabric. Align loops across the width, follow the approved closure direction and insert the correct component according to the supplied instruction.
After closing, inspect the full seam width rather than checking only the operating side. A local loop mismatch can become a tracking, marking or mechanical issue when tension is applied.
7. Record initial alignment and tension procedure
Before applying operating tension, record the initial tracking position and follow the mill's approved tensioning sequence. Do not use a generic tension number from another machine or fabric as a substitute for the machine and supplier instructions.
The paper machine fabric tension record guide explains why the measurement method and location need to remain consistent during an operating review.
8. Inspect slow-speed travel before full start-up
At the approved slow-speed stage, observe seam passage, fabric tracking, edge position, noise and contact points. Stop according to site procedure if there is abnormal contact, repeated tracking correction, damaged loops or an unexpected seam profile.
Avoid judging the installation from one pass only. Observe the complete route and both edges.
9. Review early-run observations
During the initial controlled run, log the time, speed stage, temperature or dryer-group context, tracking adjustments and any change in seam appearance. Also note sheet handling or moisture observations if they are relevant to the position.
This early record makes later troubleshooting more factual. It separates installation evidence from changes that occur after cleaning, process or machine conditions shift.
10. When to request an engineering review
Ask for a review when the seam will not align, requires excessive force, repeatedly contacts a fixed component, shows early damage, or creates a recurring operational concern. Provide photos, the machine position, fabric label, running direction, closure component, current tension procedure and a short description of the observation.
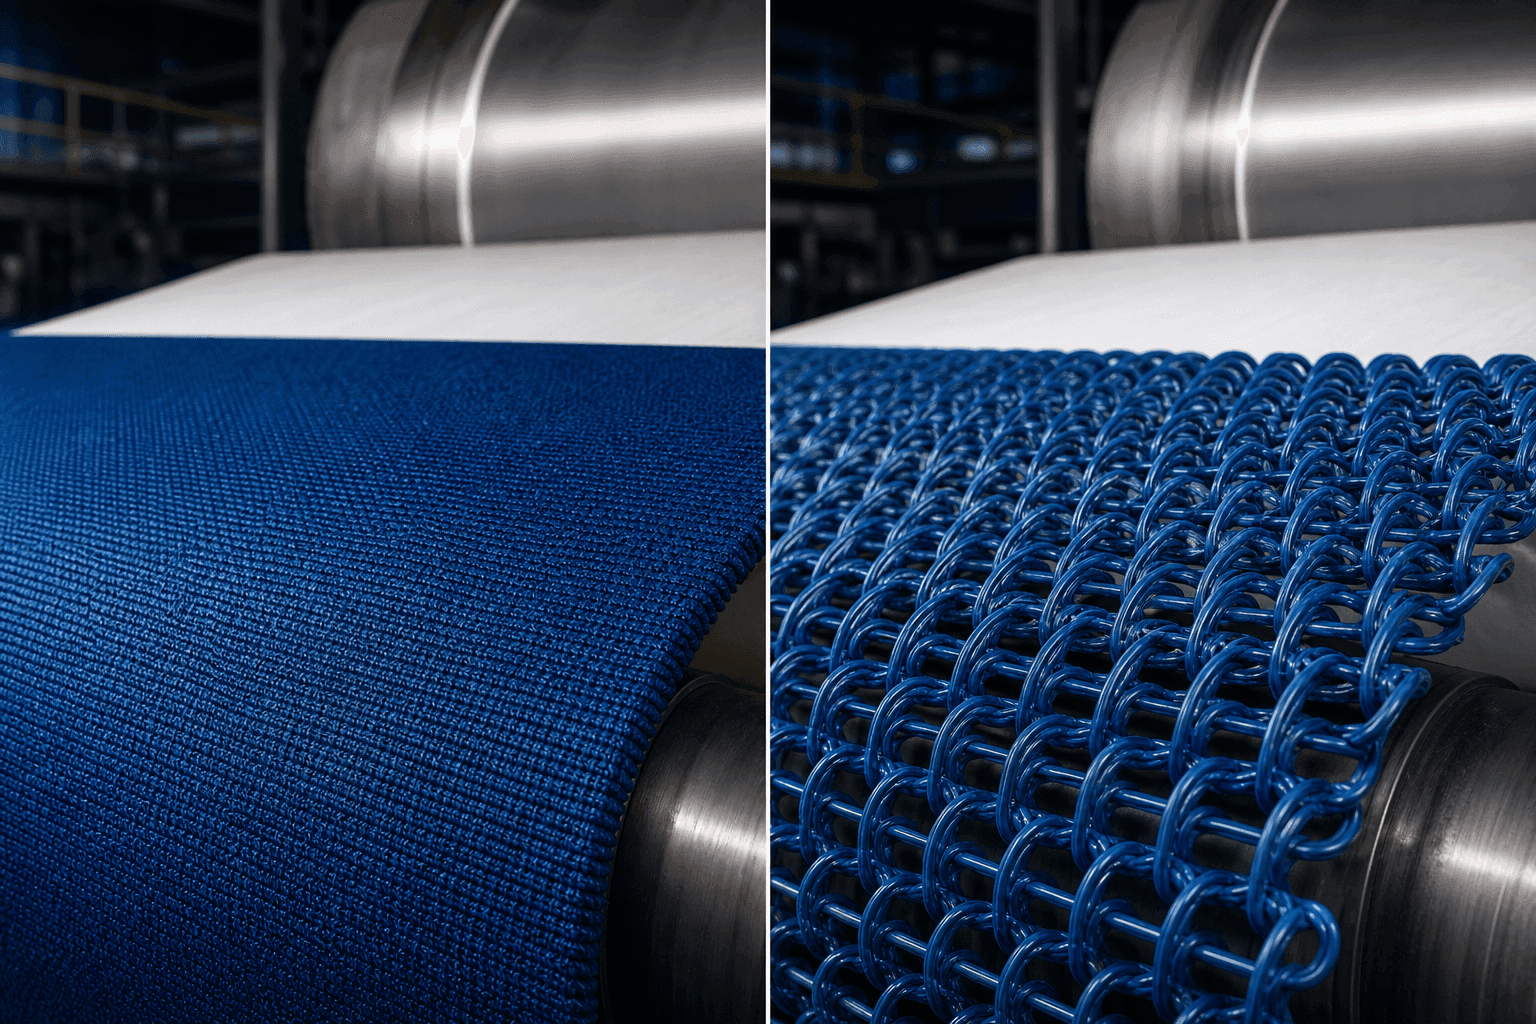
For fabric-family selection, compare spiral dryer fabrics and flat-yarn dryer fabrics against the actual dryer position rather than selecting only by a familiar seam style.
Printable pre-start record
Use this abbreviated record at the machine:
| Check | Status | Note |
|---|---|---|
| Product label and position match | ||
| Running direction confirmed | ||
| Packaging and fabric condition inspected | ||
| Loops and pin/closure component checked | ||
| Seam route and fixed clearances inspected | ||
| Full-width seam alignment checked | ||
| Slow-speed passage observed | ||
| Initial tracking and tension record saved |
Need a site-specific review? Contact PAPTEX with the machine position and photos, or use the fabric selection assistant.